Onsite Audio Player – WordPress Plugin
By using our WordPress plugin, you can add the AudioHarvest Onsite Audio Player to your blog posts and articles without having to write any code. Simply install the plugin and the AudioHarvest player will appear for all articles you have published on your AudioHarvest account.
Note that you need to have created an account on AudioHarvest and published your articles before the player will appear! The player will only be shown for web pages that are published in your AudioHarvest account. Create an always free account by signing up here.
Installation instructions
- Download the plugin by clicking this link
- Login to your WordPress site and go to the “Plugins > Add new” page in the management dashboard.
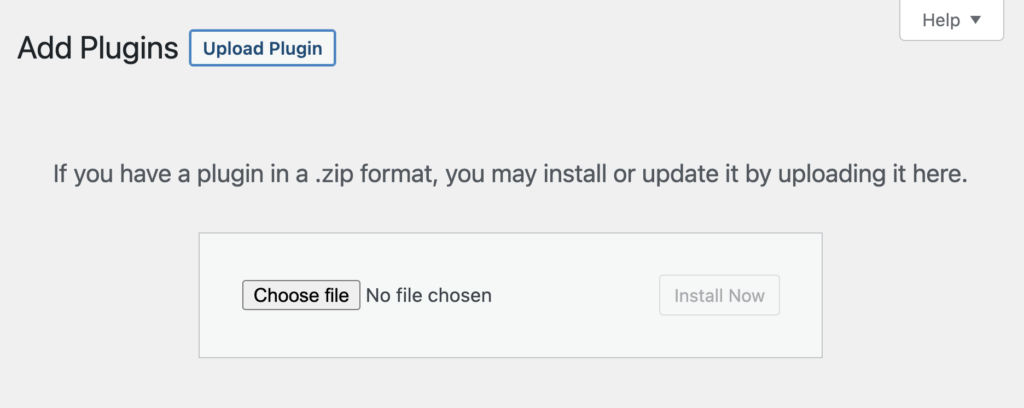
- Click “Upload plugin” and select the AudioHarvest plugin zip file and click upload
- If you completed the above steps, you should see the AudioHarvest plugin listed there:

- Click the “Activate” link on the plugin entry
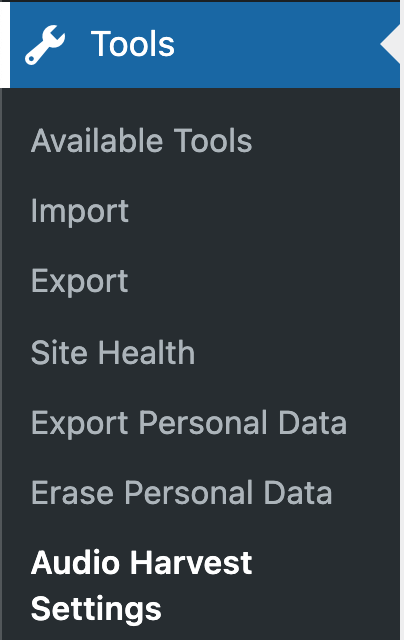
- Now you will find a page named “AudioHarvest Settings” under the Tools section in the WordPress dashboard.
The plugin is now installed and the AudioHarvest player will appear on your site pages if the article is published in your AudioHarvest account.
Player configuration
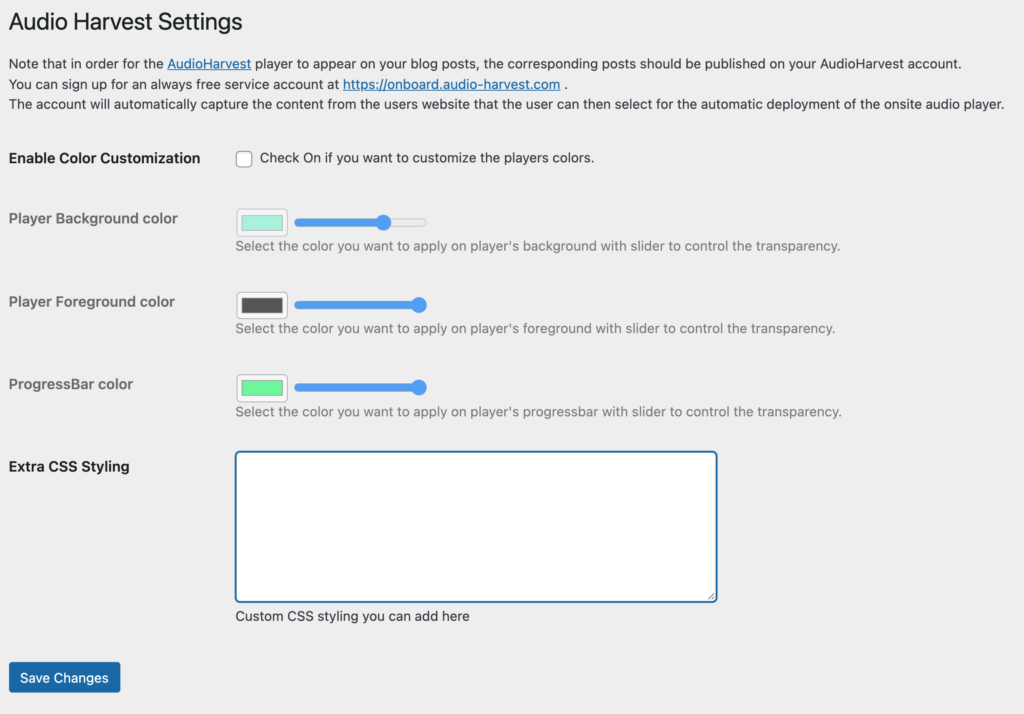
On the plugin configuration page, you can customise the look of the player. You can pick the three main colors used by the player to match your own site style.
For people with experience with web development, we also offer a field where you can write some custom CSS style rules to be applied on the AudioHarvest player, allowing you to fully customise the look and feel of the audio player.
Onsite Audio Player – Insert code on page setup
Installation
How the widget is integrated into your site depends on what kind of Content Management System (CMS) you are using (for example WordPress). We will provide generic guidelines that should work for any CMS, but we will also provide more specific steps for WordPress. If you are a WordPress user, please skip the Generic Setup below.
Generic setup

Insert the following piece of code on the pages where you want the AudioHarvest widget to appear:
The AudioHarvest widget will dynamically load the widget content in the audioharvest-widget
element if there is audio content to play. If there is no audio content, the widget will not load.
Typically, you will be using some kind of website theme or template. In that case it should be possible to add this code to the article template, making the AudioHarvest widget appear on all article pages. Alternatively you can add the widget to each article where you want the widget to appear.